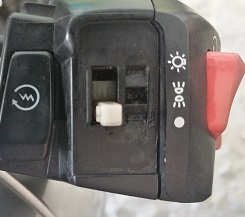
If it ain’t broke, fix it anyway! I decided to have a look at the headlight switch on my SW because it felt a bit notchy and stiff. When I released the switch ‘button’ from the assembly it came off with a ‘ping’ and the button, the spring and the ball bearing went all over the garage floor. Yikes!
I found the button and the spring but the bearing disappeared into my garage equivalent of the Bermuda Triangle. Now what?
Easy. Measure the size of the spring outer circumference and buy some new ball bearings of the correct diameter. Metal or plastic ball bearings? I went for plastic.
I’m not only a Silverwing Guru, I’m a genius. It fitted perfectly and after re-attaching the button to the switch it worked. However, there was no improvement in the notchy and stiff operation.
If you look at the picture below, the ‘track’ of the ball bearing over the position ‘notches’ is stepped in a peculiar manner. This is probably the case in most switch assemblies but it sure confused me. Anyhow, if this folly helps anybody else who lies awake at night wondering if there is a problem with their headlight switch, then my work is done.
Maybe that’s why modern motorcycles have lights permanently ON.
The steps of the bearing track:

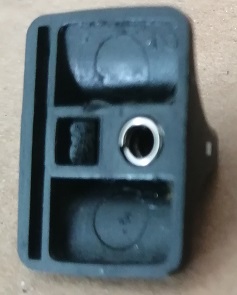
The switch button with the spring in its recess:

The switch button with the new ball bearing ready to install:

The button is held in place by a clip edge on the switch stem which snaps into a slot in the underside of the switch button:

Here are the plastic bearings I bought:

I hope that my yearning to discover how things work will help all SW owners sleep better

